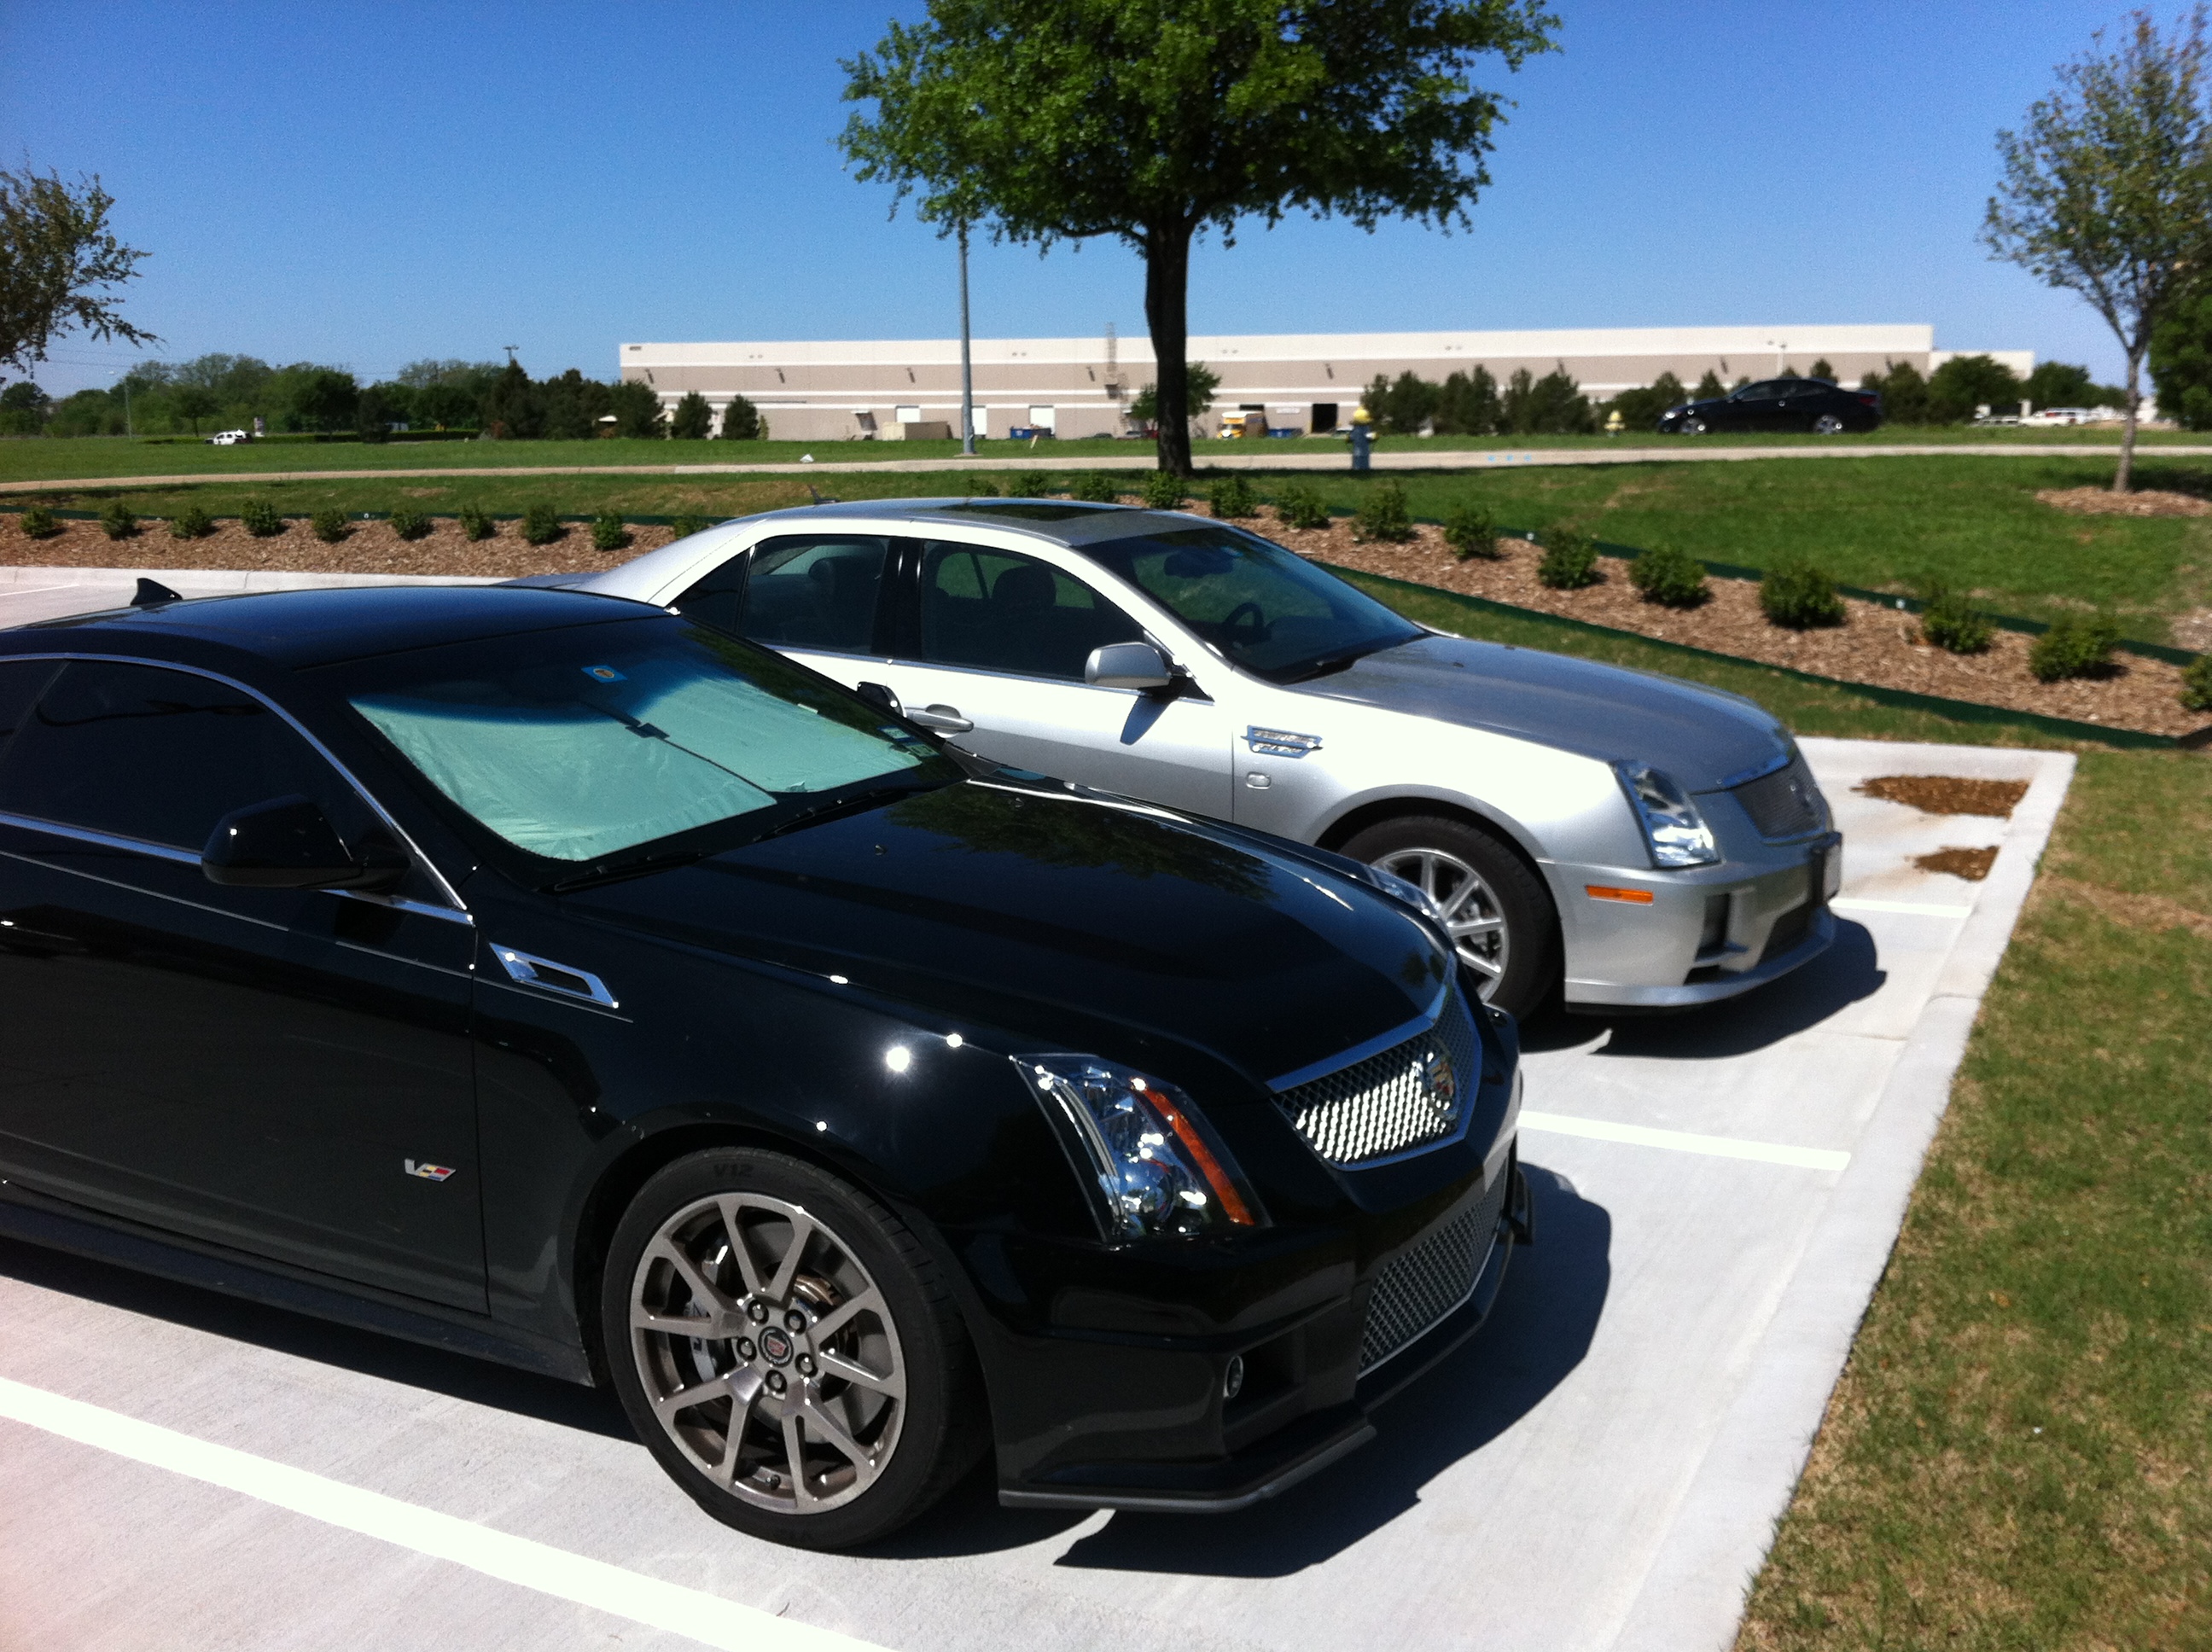
Let’s talk daily driver detailing. My Cadillac is a daily driver.
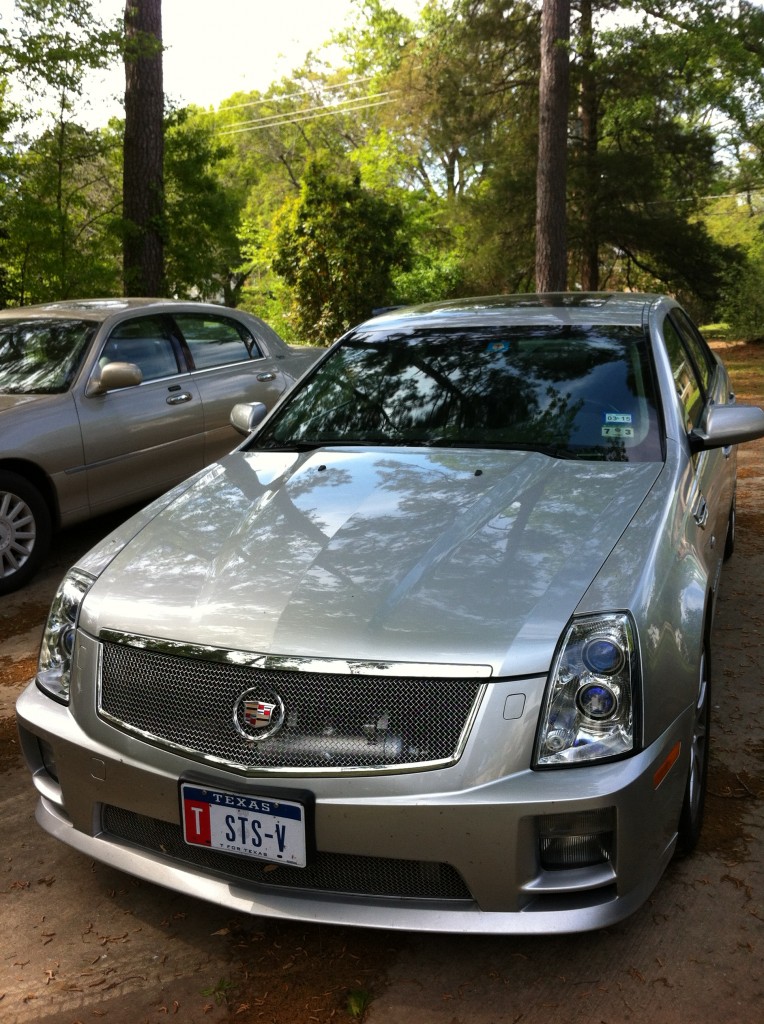
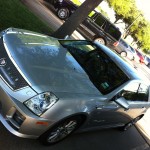
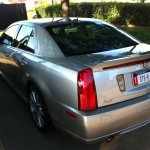
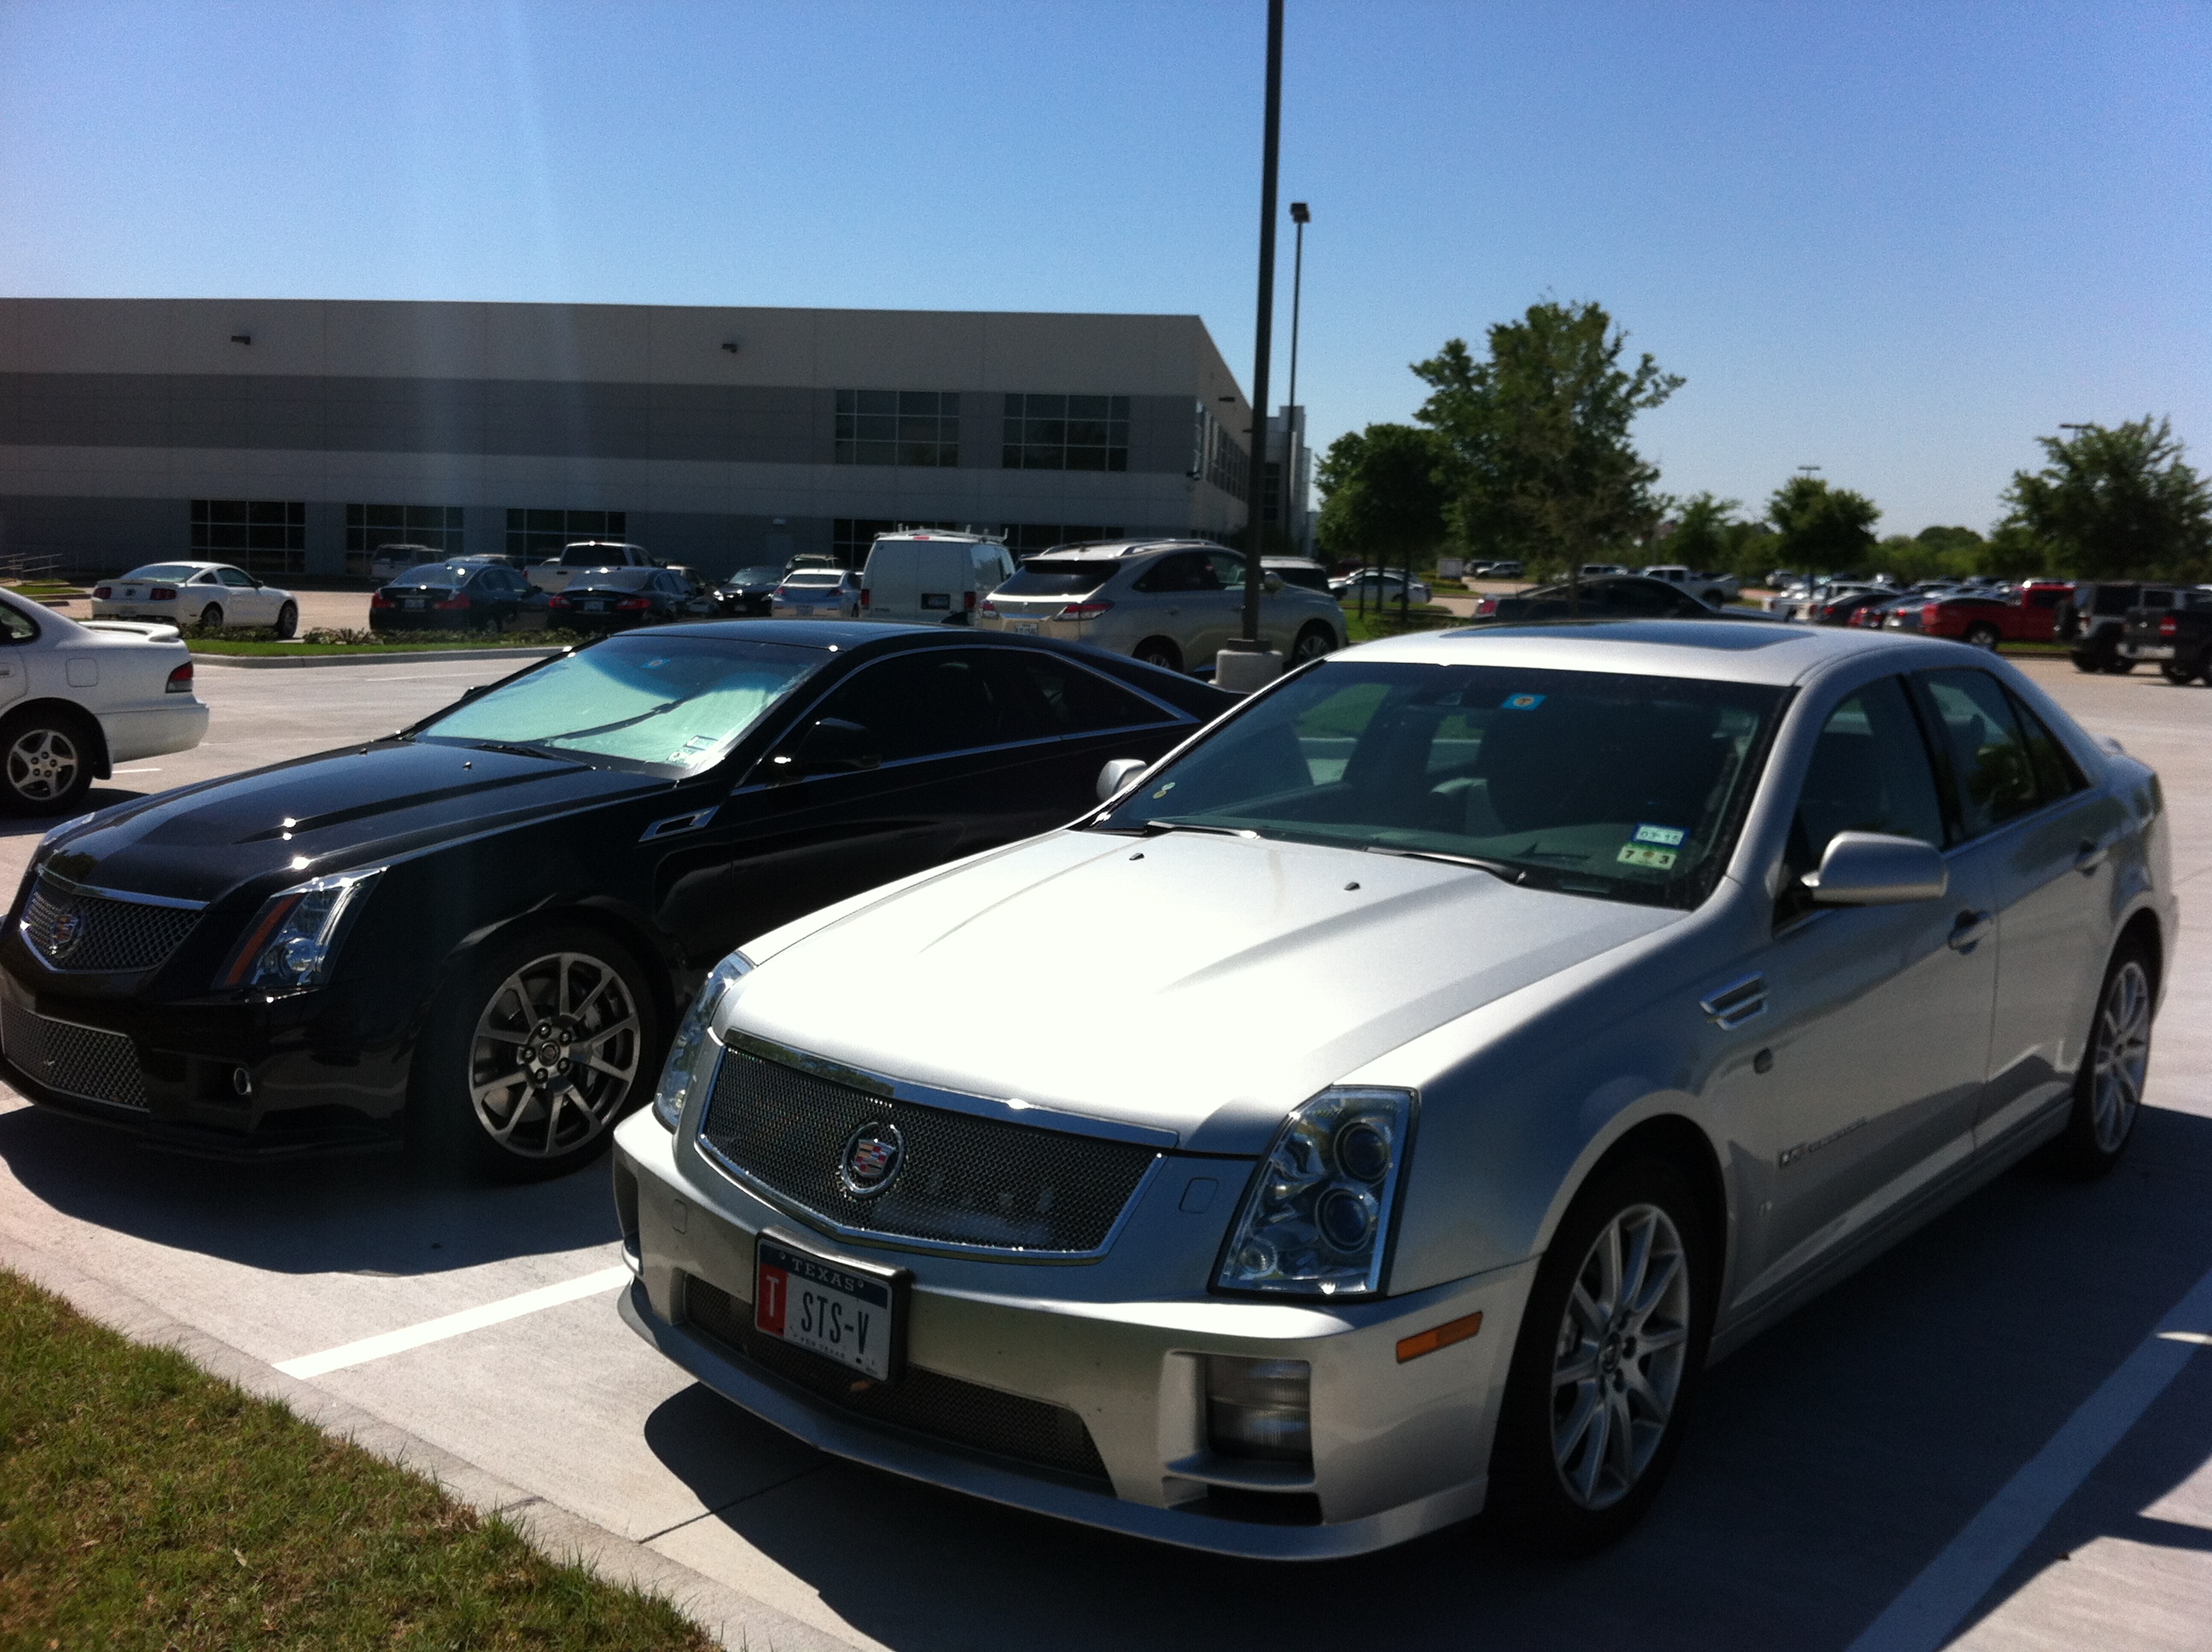
Shot of my 2008 Cadillac STS-V during a recent trip. This is the car we are working on today.
My garage was previously a storage locker / reality show — it is much improved after a recent clean-up. This combination was not good for keeping the paint on the car nice and unmarked.
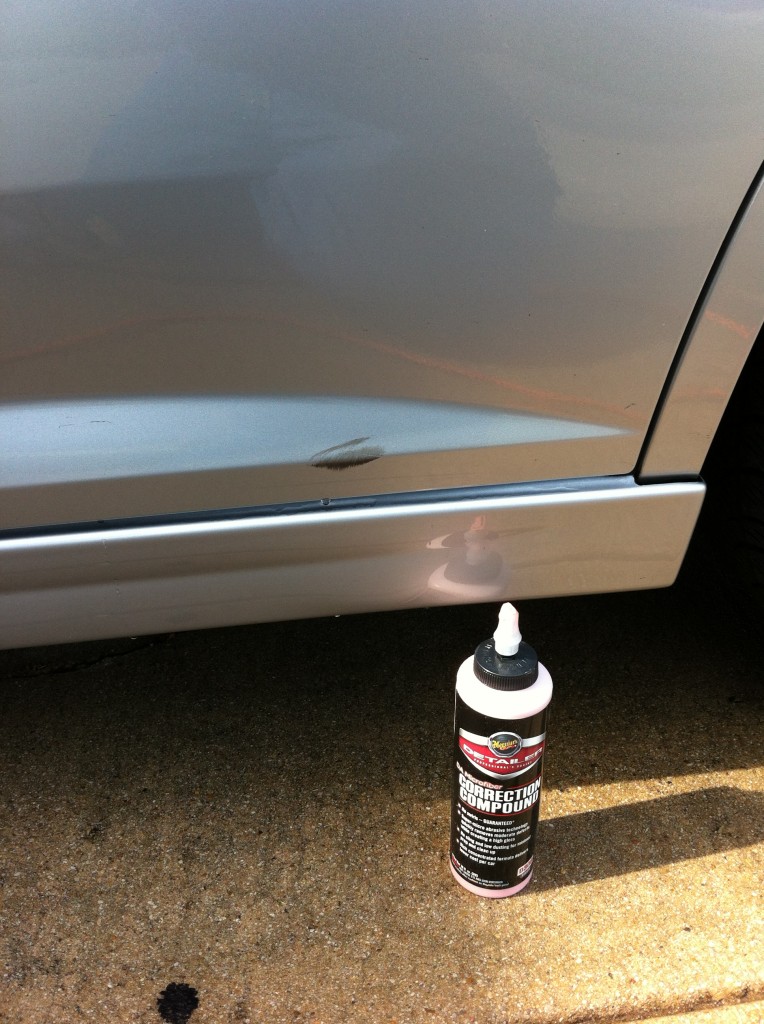
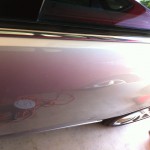
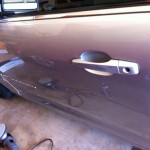
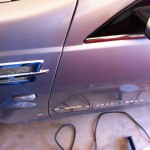
Before buffing — our target is the black ‘rub’ mark in the rear door.
Today I set out to correct some issues. One prime candidate was this shoe-polish like smear or scrape on the passenger door. This appeared to be a large black ‘rub’, not sure from what. I assume it came along in a parking lot, although it is possible someone opened the door against stuff previously kept between the cars in my garage, or even that it was hit by a piece of a tire at some point (?).
My tools of choice today were a Porter Cable buffer, a cutting pad, and Meguiar’s correction compound. I used a PC speed of 5K rpm. First I lavished the correction compound onto the pad, then with the buffer off I brushed with the buffer to spread a coating of the compound onto the spot and the rest of that panel. With the buffer on, I moved it in a circular pattern across the spot from several different directions.
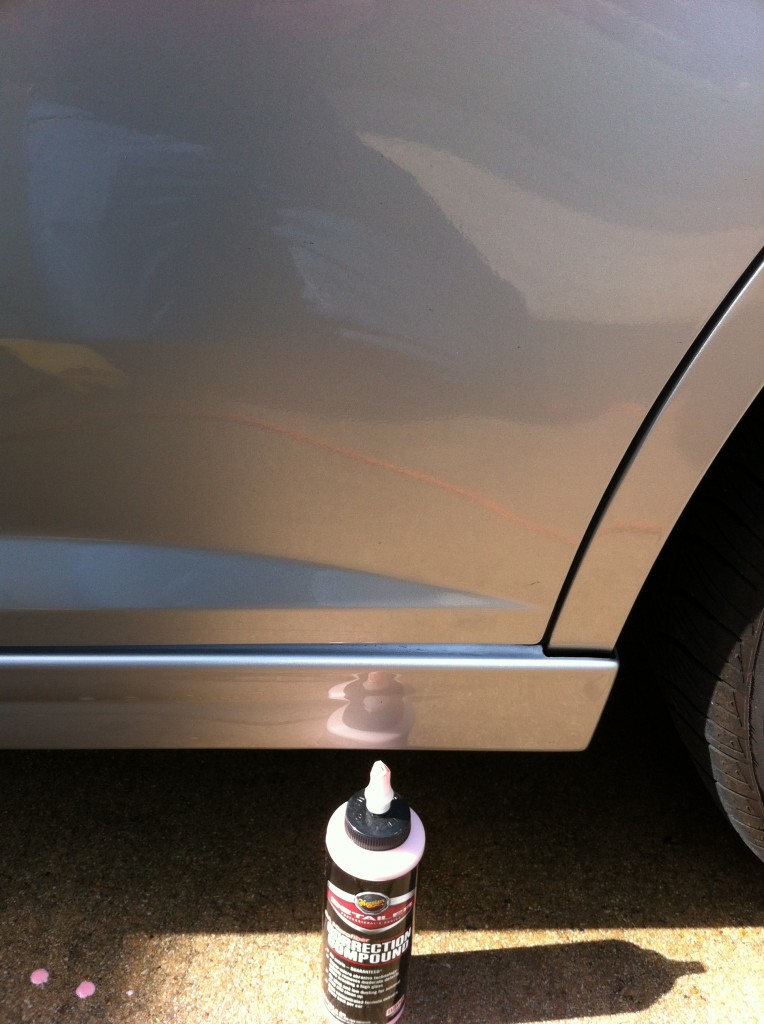
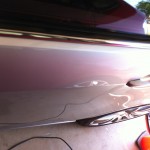
After Buffing the Rub spot
Although resistant at first, this process cleaned the rub up nicely. I had to look at the previous photo to see where the rub was & re-position the bottle of cleaning compound for the comparison ‘after’ shot.
I then worked on some other less obvious spots.
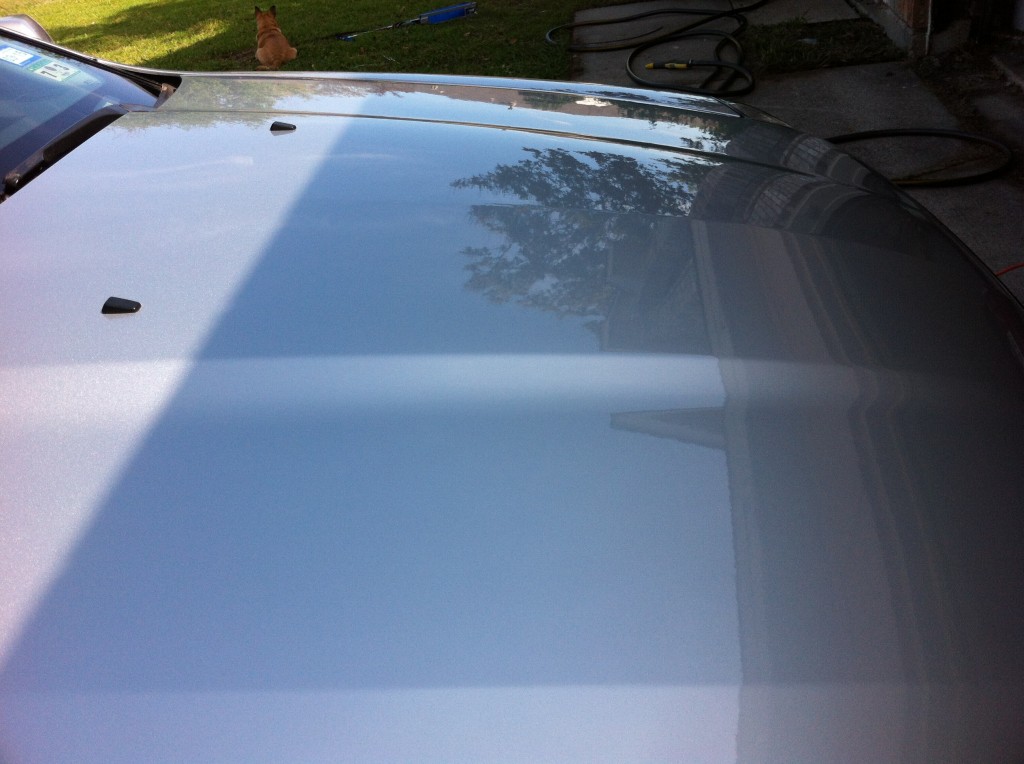
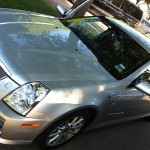
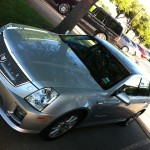
Shot of the hood (bonnet) after waxing
Finally, I switched to a waxing pad and finishing wax, and waxed the car by section. I grabbed this snap looking across the front hood to give an impression.
It still needs some more work & attention, but this was a good start on getting a few items taken care of. You can just see our chihuahua mix out enjoying the morning in the last photo. There were other ways to solve these issues, but using the buffer and Meguiar’s compounds was a simple and direct way and was successful in cleaning up or clearing up some of my STS-V’s imperfections.
Advice & Good ideas for Daily Driver Detailing?
Do you have advice on paint improvements? Hit the comments and share!
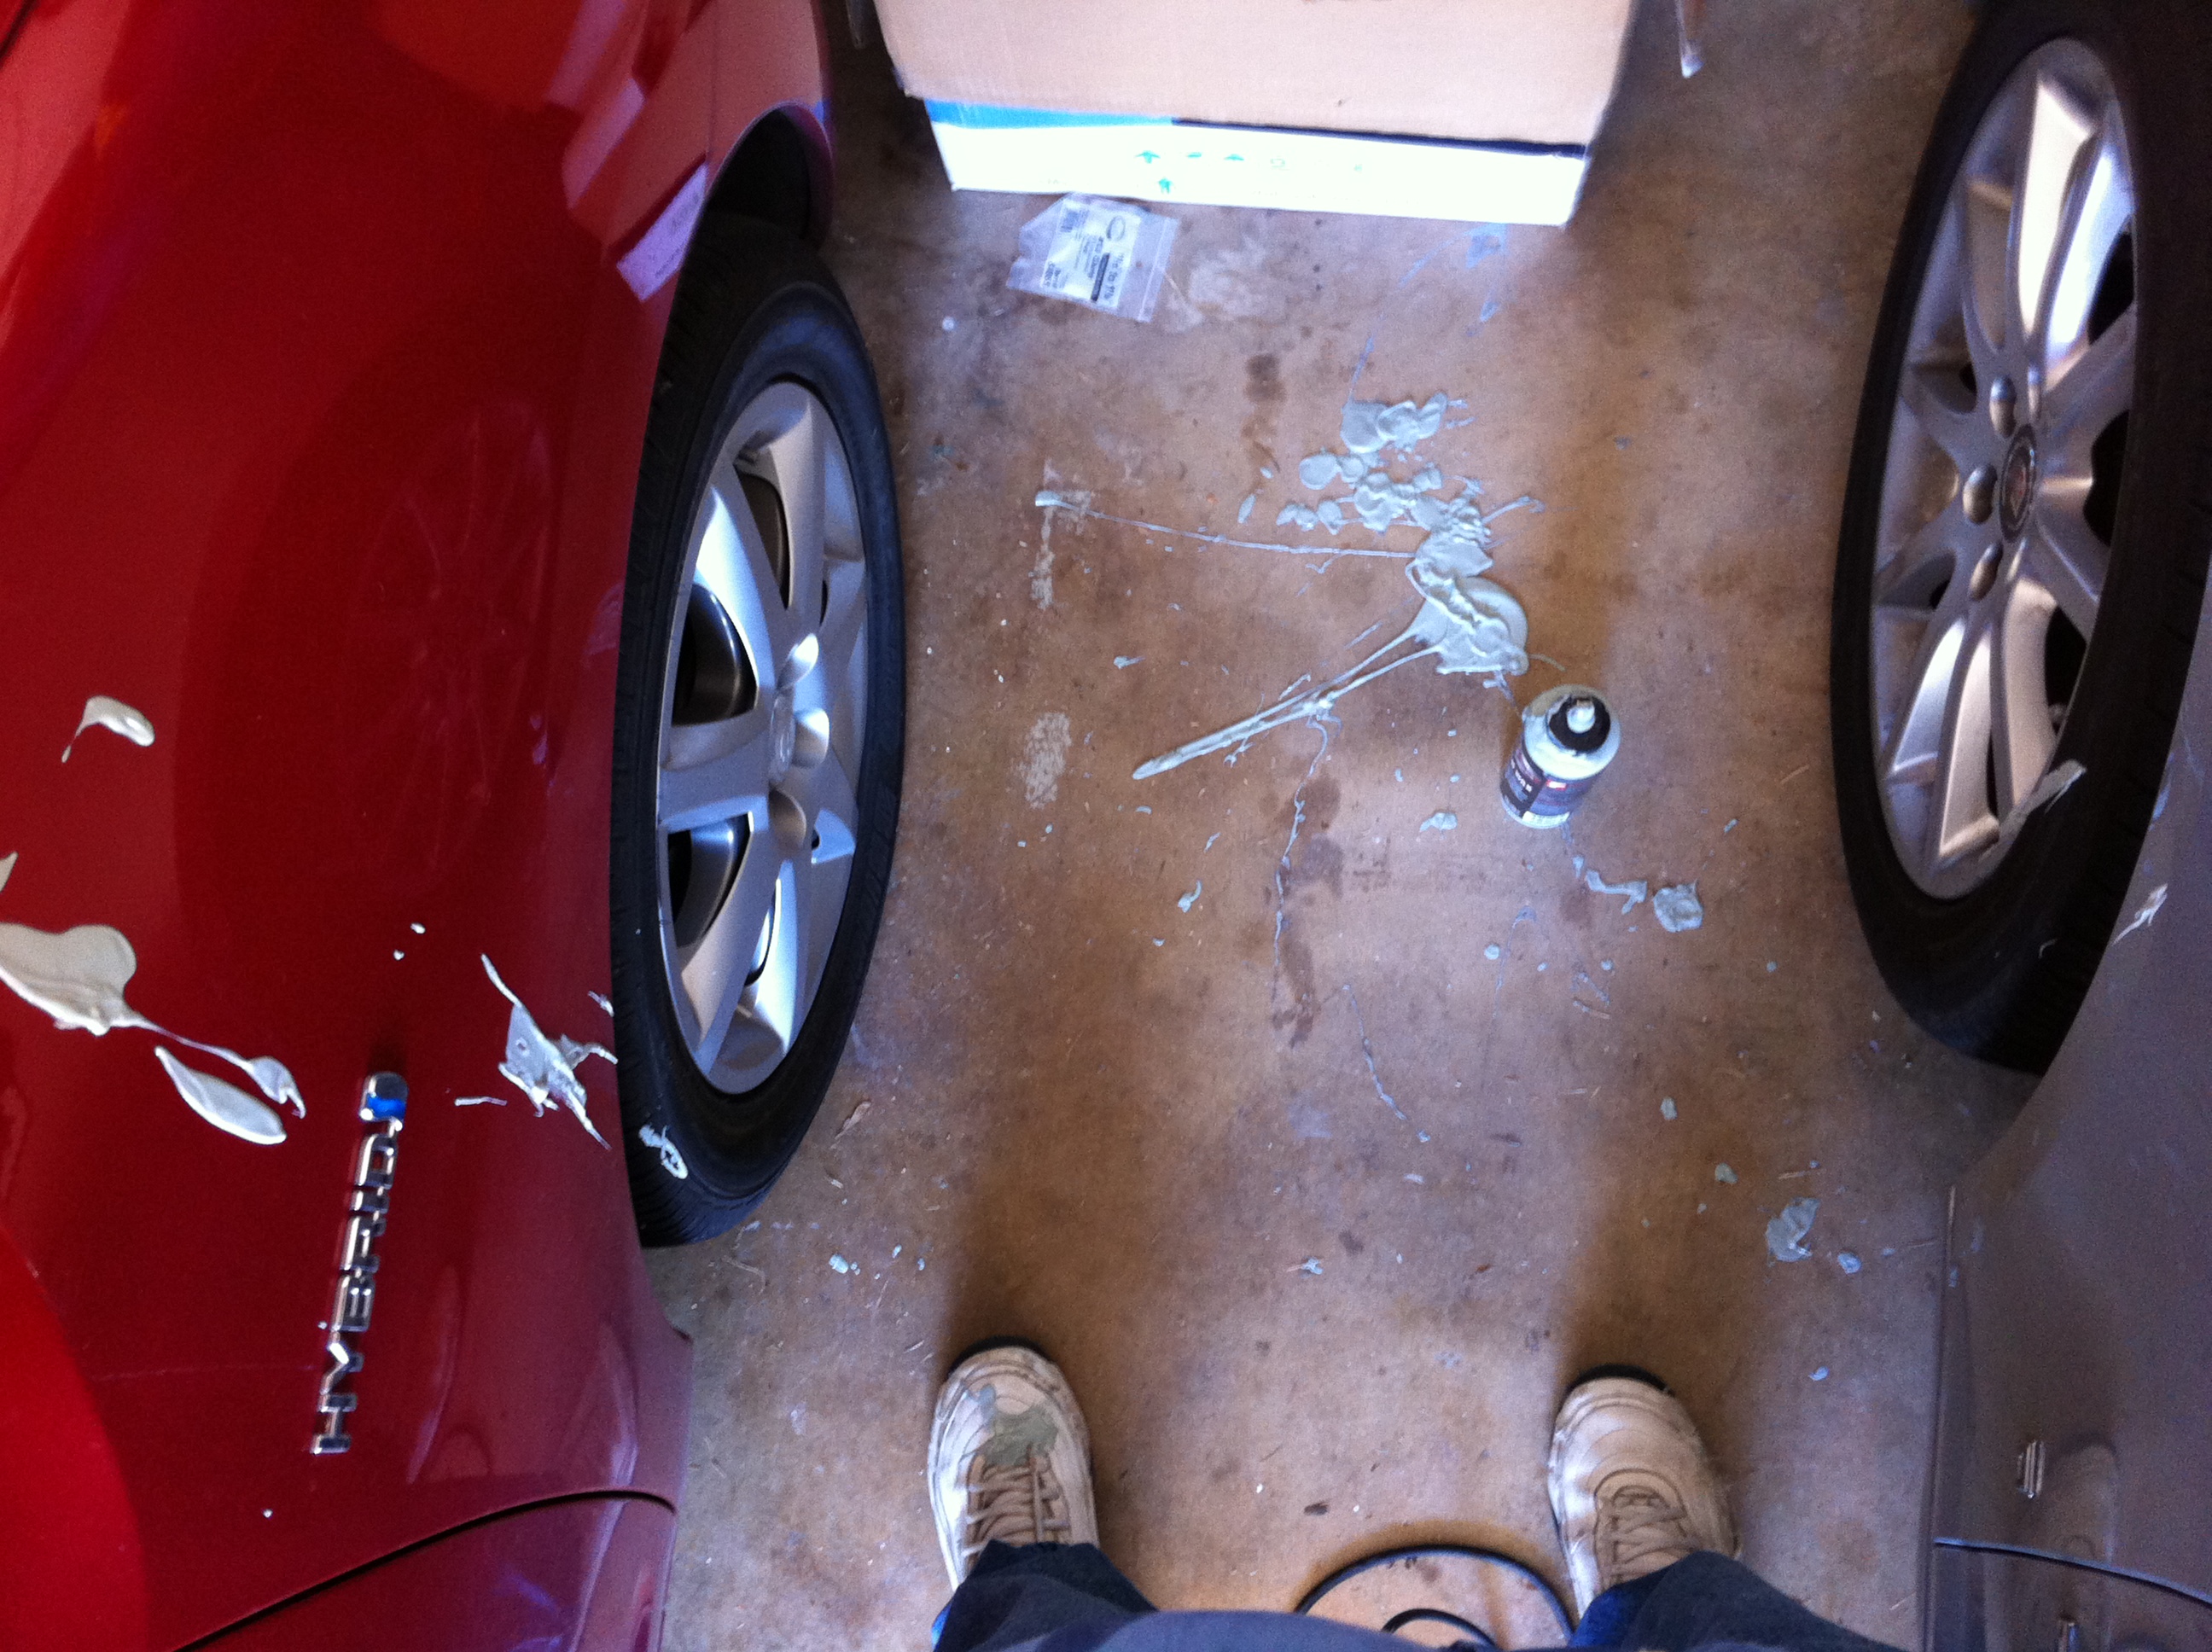
Update: How to tell you will need more product soon:

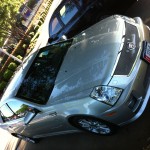
It is hard to tell from the iphone pics, but with waxing the Silver STS-V looks increasingly reflective.
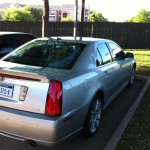
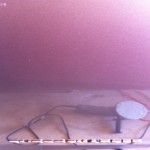
I tried to capture a before / after sequence for the rear side view:
-
-
After cleaning but Before waxing
-
-
After waxing
The difference is subtle on the iphone. In person it does look better.


